

Make Your Own Herbal Body Oil
Make Your Own Herbal Body Oil
Our How-To Guide for Infusing Herbal Oils In A Windowsill
If you’ve ever gawked at the price tag of an herbal body oil or salve and thought— “I could make that myself,” then you’d be right. And while making quality body oil using this method isn’t incredibly complicated, it does take a bit of know-how, patience, a few jars, and a sunny windowsill (plus a few other bits and bobs). This week I’ll dive into everything you need to know to make your own herbal body oils at home, using the window-sill method.
Why herbal body oils?
Whether you suffer from regular aches and pains (who doesn’t), or you’re just looking for a new moisturizing post-bath ritual, herbal body oiling is a great way to take care of yourself while also getting a healthy topical dose of your favorite medicinal herbs.
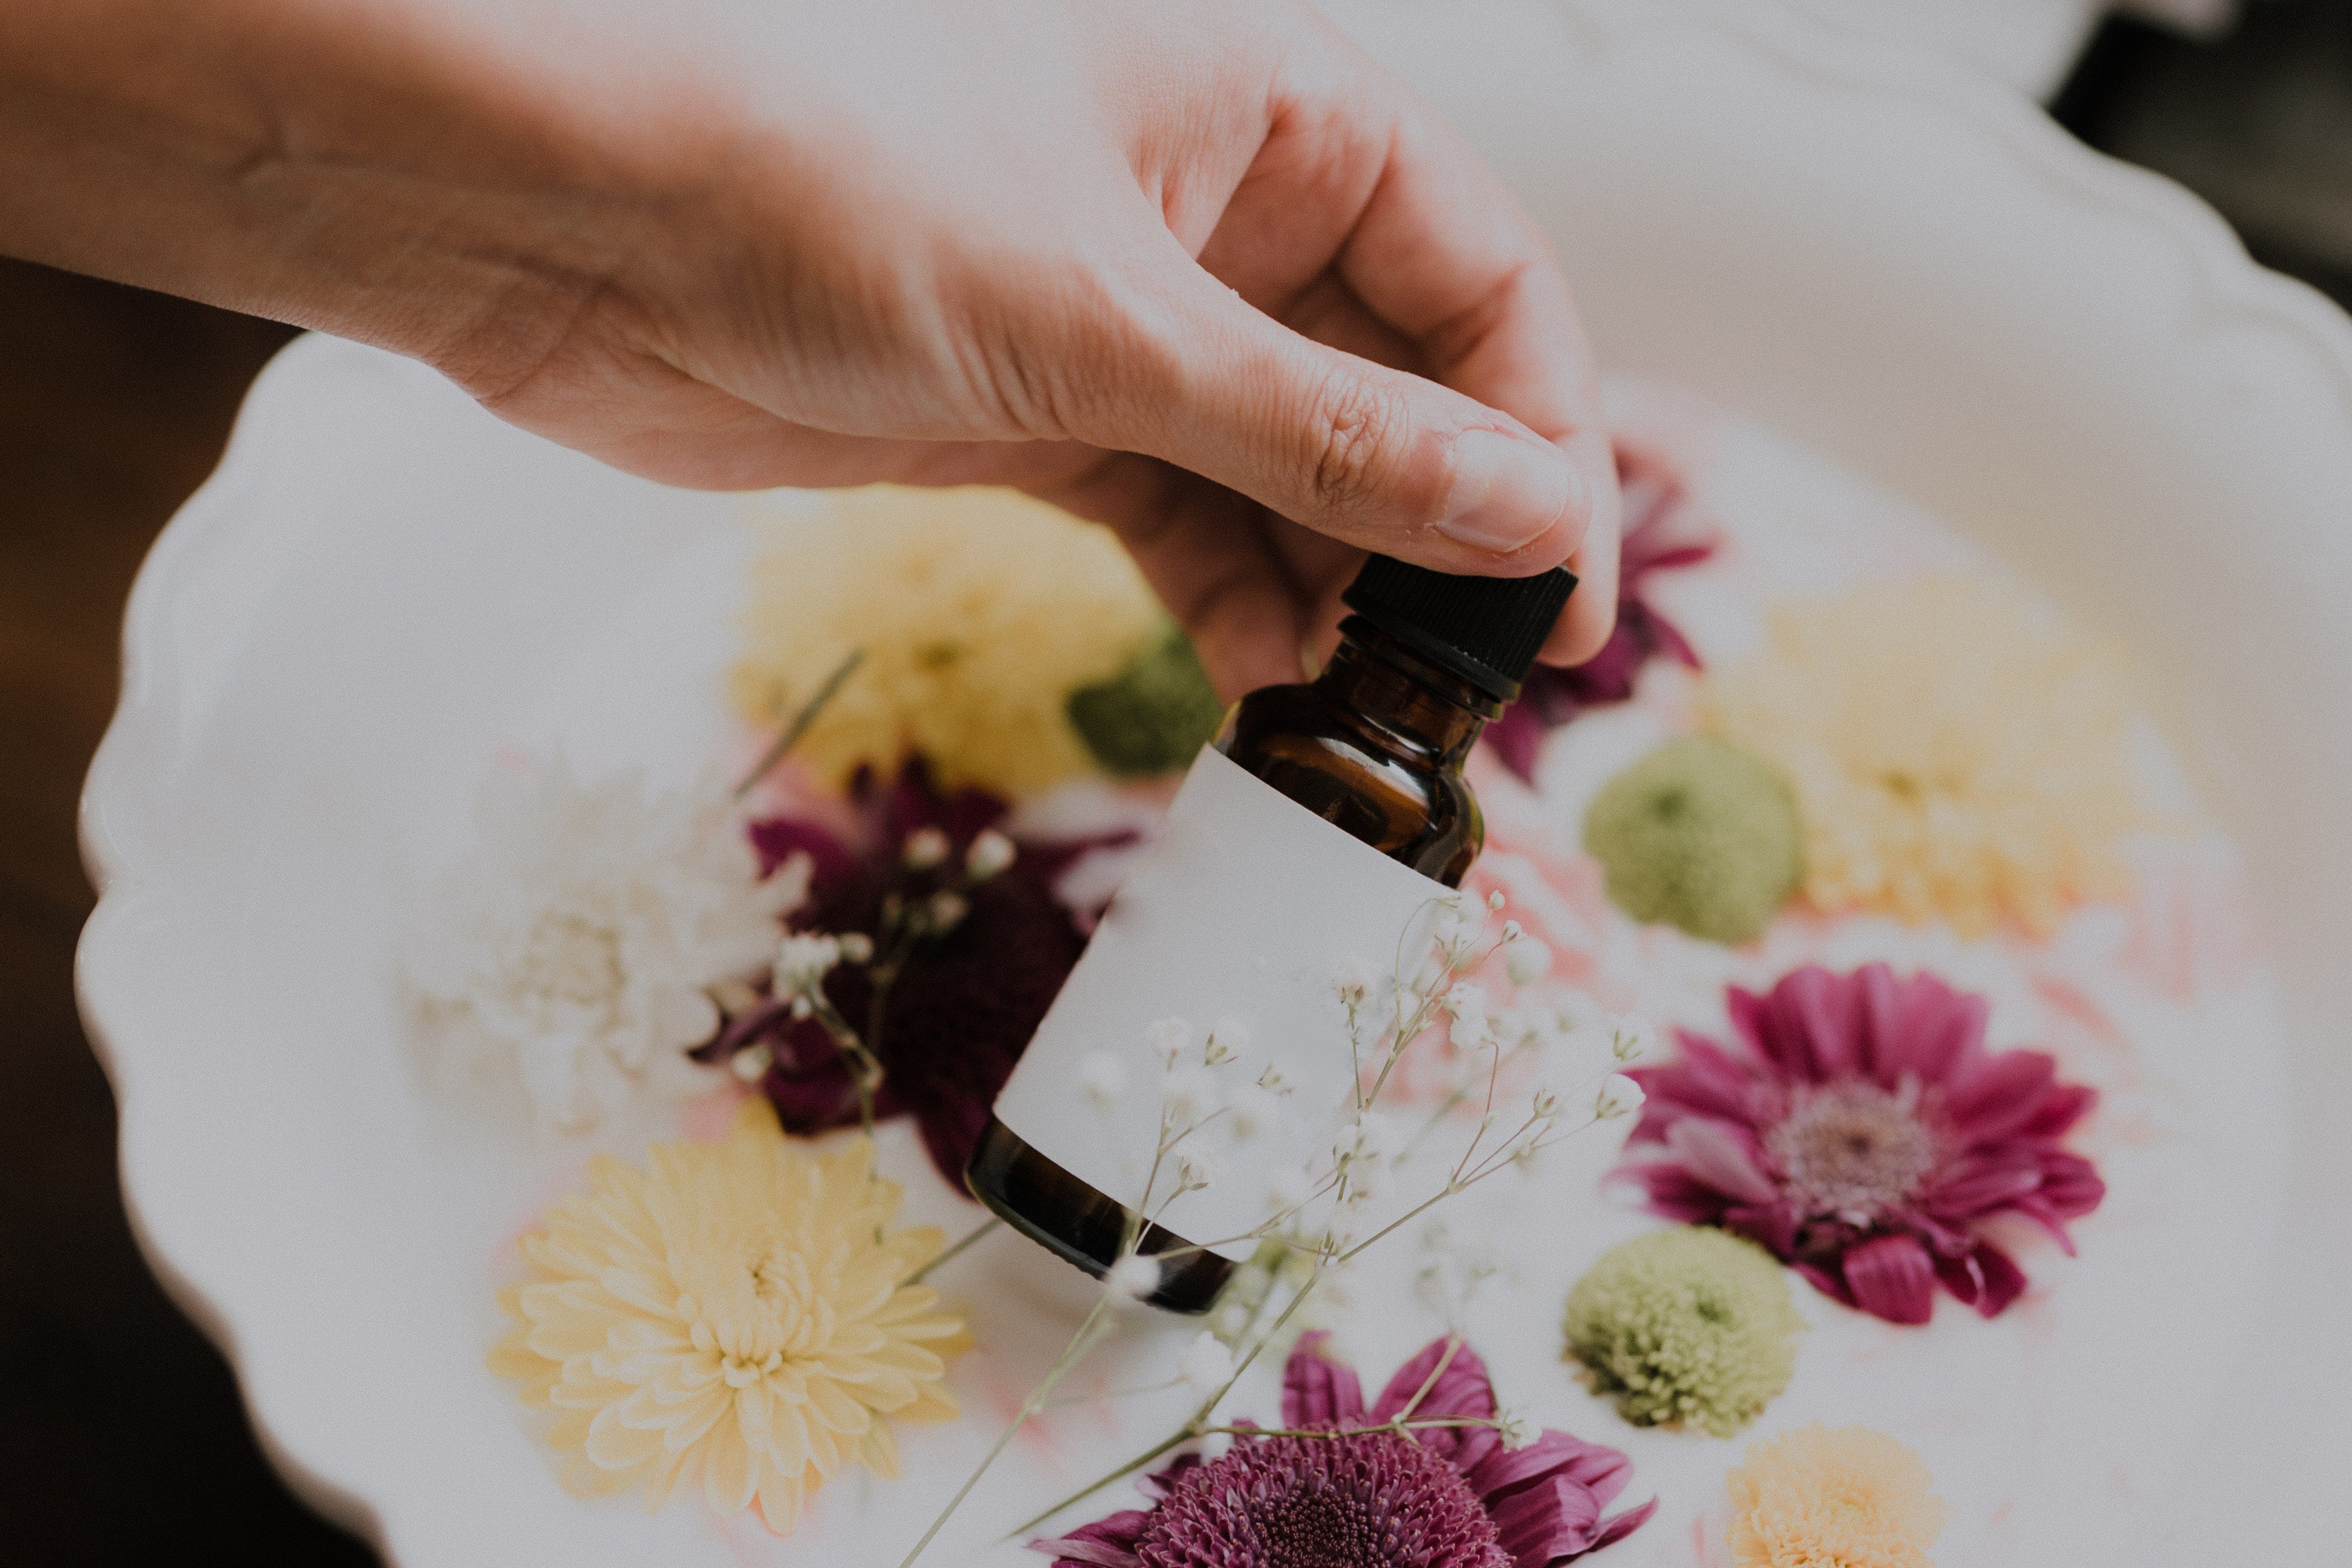
A few of my favorite infused oils to make include Comfrey, Saint John’s Wort, Cannabis1, and Juniper. Once you’ve infused your oils, you can go on to apply them straight from a cosmetic-sized squirt bottle, or even go the extra mile into making a salve—which will be more shelf stable and stretch your oil further than if you just used it straight.2

Steps for making herbal body oil
Step 1: Choose your oil
Before we dive in, let’s cover a few tips on choosing a good carrier oil (ie. the oil that your herbs will be infused in). Carrier oils vary widely and it’s good to know a bit about each one in order to choose the right one for your particular goals.
For example, if you’re hoping to make a product for your face, you’ll want to use a non-comedogenic oil like jojoba or Sunflower seed. I personally tend towards making products that aren’t meant for facial applications simply because the carrier oils are more affordable and are known to infuse well.
Some of my favorite oils to use include olive, safflower, and blends of the two. If I’m making a salve for massage purposes, I’ll sometimes add in coconut oil later on (when blending my infused oil and the beeswax) just to increase the melting temperature and create something a little more solid. Coconut oil isn’t great for infusing herbs using the technique I’ll be showing you, simply because it tends to harden in colder temperatures, making it more difficult to strain out your herbs later on.
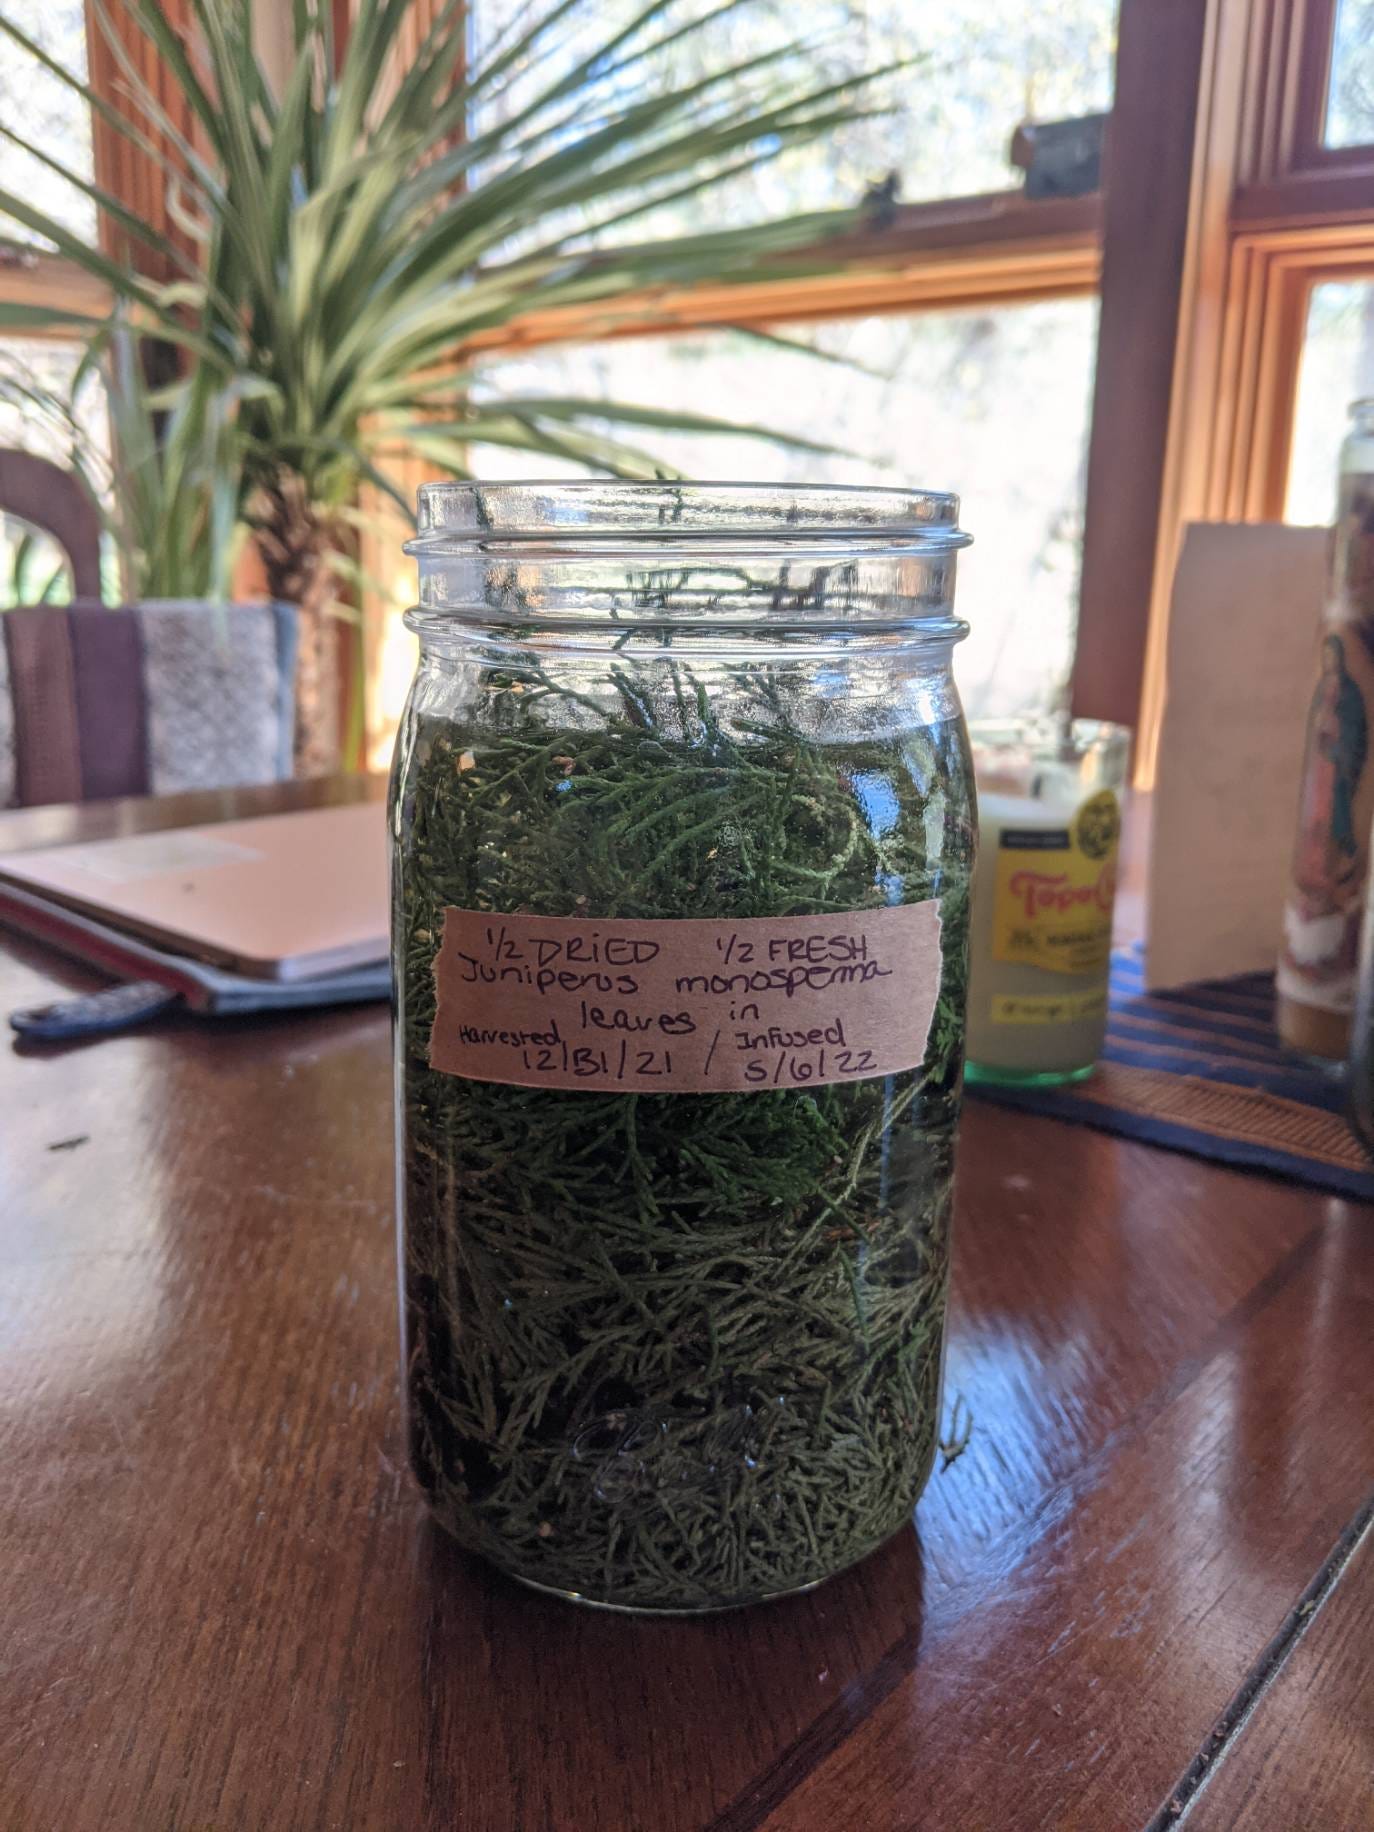
Fresh and dried Juniper infusing in Safflower oil.
Step 2: Dry or “wither” your herbs
While some oils can only be made from fresh plant material (like the beloved Saint John’s Wort), many are just as potent when made from dried material3. The reason for using dried versus fresh plants is simply that it decreases your chance of spoilage and mold.
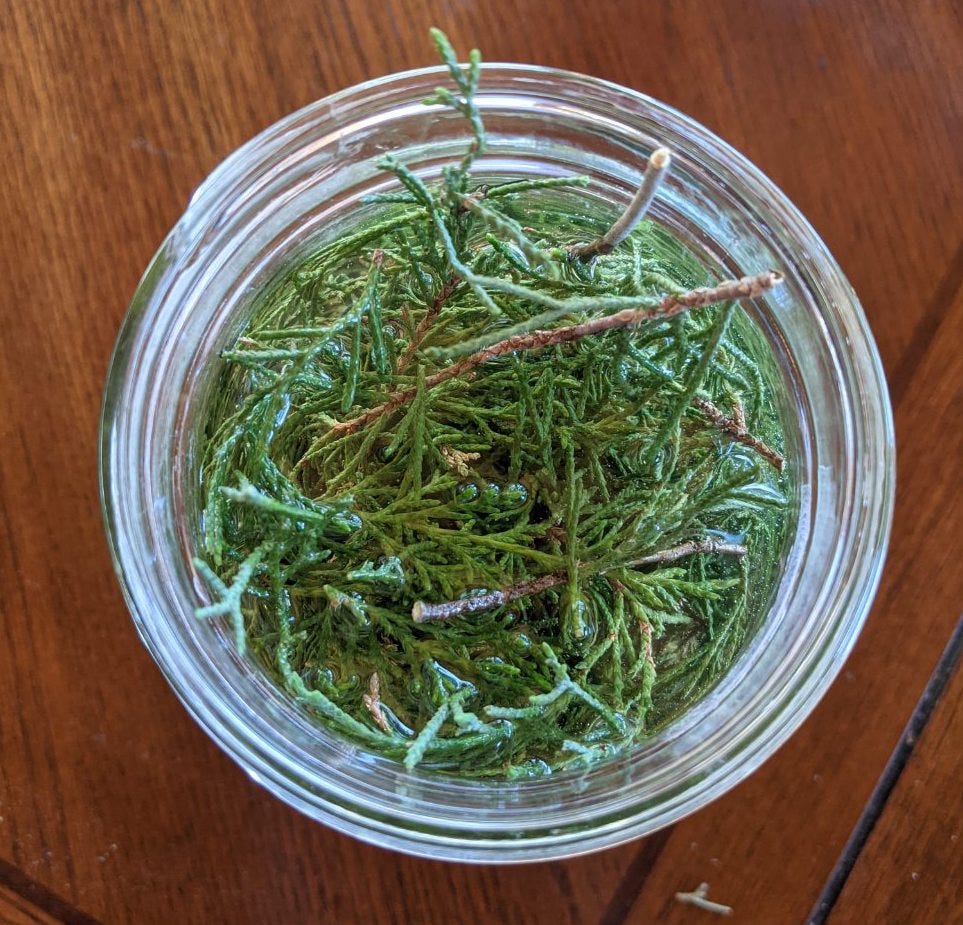
The good news, is that it’s often fairly easy to tell which herbs have a high water content and which ones don’t. Take for example Juniper versus Comfrey leaves. The wide juicy margin of a Comfrey leaf has way more water content than the small bristly leaves of a Juniper.
When you intend to make an herbal oil from a plant like Comfrey, it’s best to harvest the plant, dry it until it passes the snap test, and then make your oil4. With Juniper, you might just consider “withering it” or even using a combination of fresh and dried plant material. Withering a plant simply means letting it dry out partially (usually for several hours to several days) before infusing it.

Step 3: Prep your jar
With the exception of drying your herbs, this is probably the most important step in the entire process. Since you’ll be infusing your herbs in a jar in a sunny window, the oil will naturally experience some temperature fluctuations. One of the best things you can do to mitigate the risk of spoilage is to limit the amount of bacteria, moisture, and air in your jar.
You can accomplish this by thoroughly washing and drying your jars and lids well in advance of assembling your oil. Make sure your hands are clean (and dry) when handling your jars, and consider going the extra mile by sanitizing the inside of your jars and lids with a bit of alcohol. This will help evaporate any final drops of water, and also kill any remaining bacteria.
Step 4: Infusing your oil (folk method)
One of the best things about making an herbal oil is that you don’t have to be strict on measurements. Simply fill up any size jar with your crushed herbs (Remember: the smaller the pieces, the more surface area is exposed, and the better the infusion) and then top it off with oil5. This is called the folk method, since there’s no measuring or proportions involved. Be sure to label your jar with the name of the plant material, where you harvested/purchased it from, the carrier oil you used, and the date.
Step 5: Choose a sunny spot
Once your labeled jar is sealed up tight, grab a brown paper bag and find your favorite south-facing or otherwise sunny window. Why a brown paper bag, you ask? This protects your oil from the direct power of the sun (which can diminish the medicinal quality of your herbs), while still allowing it to soak up the heat and infuse properly. Place your jar in the brown bag in your sunny window and let it sit for at least 4-6 weeks (or longer). I’ve let oils infuse for as long as five months, and generally they seem to be stronger and more potent the longer you let them sit.
Step 6: Strain your oil
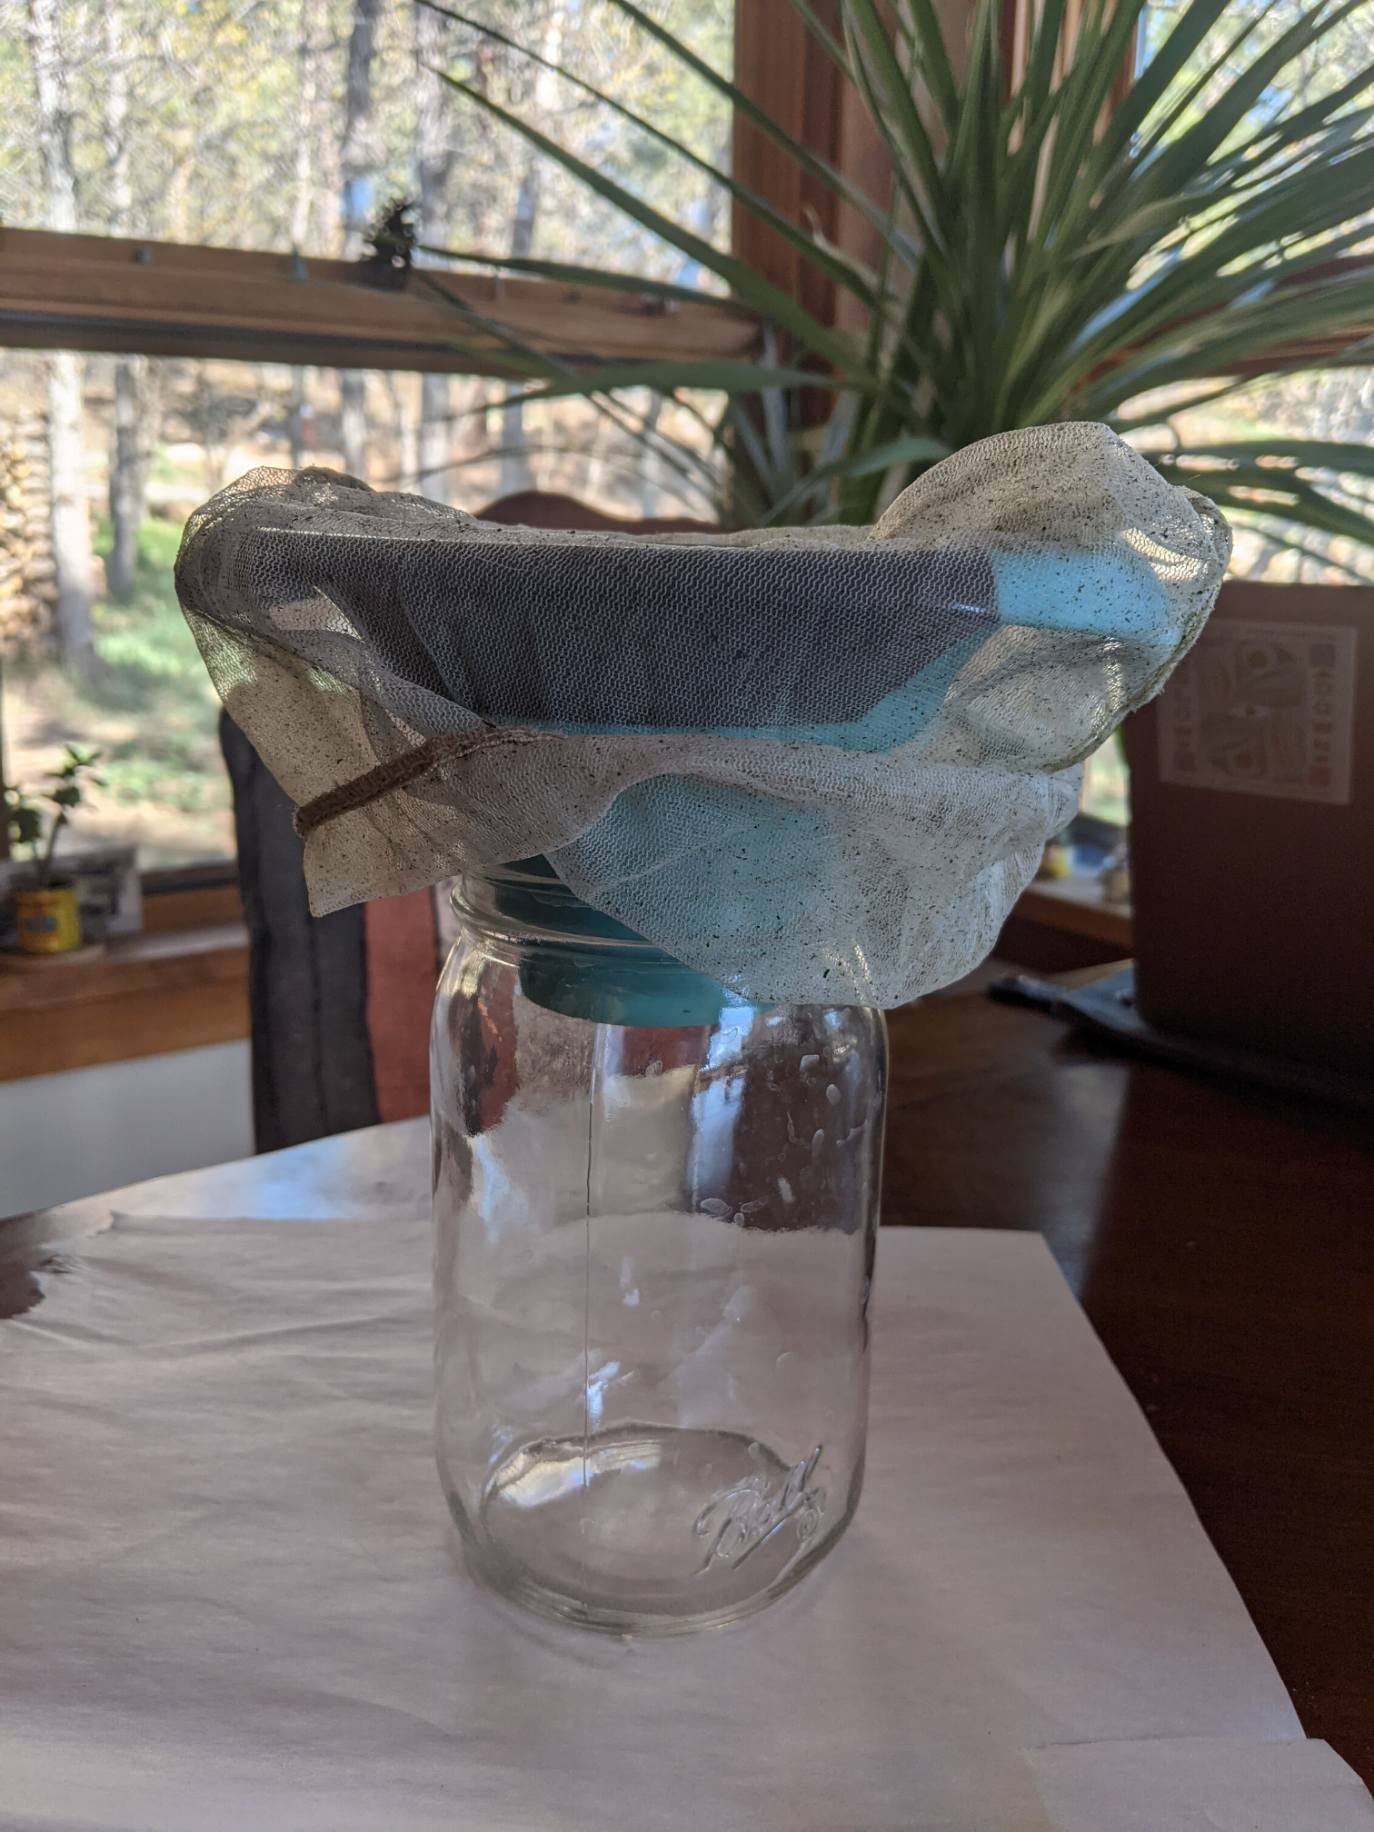
Once you feel satisfied with the length of time your oil has been infusing, it’s time to strain it off. There are many ways to do this, but I personally like to use a canning funnel and a cheese cloth baggie. Wrap the cheese cloth around the funnel and pour your oil into the clean (sterilized) jar below. Doing this in a sink or over newspaper helps mitigate any spillage.
The goal is to get as much oil (and as little plant material) as possible so you may have to do it in batches and squeeze out the plant material as you go. This is easily the most time consuming party of the whole process but I like to think of it as a nice bit of extra spa treatment for my hands—squeezing every last bit of herbal oil out of the mark (aka plant material) and into a jar for storage or later use in a homemade salve.

As an Amazon Associate, I earn a small percentage from qualifying purchases made through this post.
I like to decarboxylate canna leaves before infusing them, as this releases the full spectrum of cannabinoids in the plant material, which can be beneficial in topical applications for pain.
A word for the uninitiated: Most salves are basically just a combination of herbal oils, beeswax, and some essential oils
Invest in a good Materia Medica like Easely & Horne’s Modern Herbal Dispensatory. This book gives all the ratios and details you need to make potent medicinal oils or tinctures from a variety of popular herbs.
You won’t need to let your herbs dry out as much if you plan on making your oil in a crockpot (another great method) rather than in a jar (the method I’ll explain here).
Be sure to cover your herbs completely with oil, since any plant material left exposed to air invites an opportunity for mold growth.
I'd love to hear if there are any recipes that are on repeat for you. Or maybe even a list of your favorite herbs to use and their benefits. Just some content ideas ^_^